
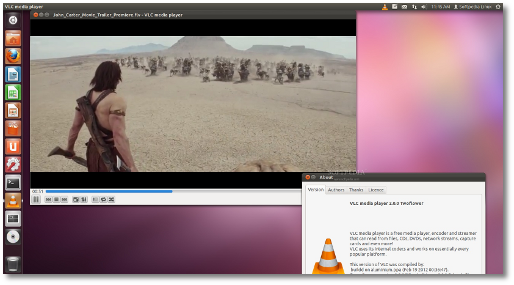
The VLC 2.0 media player has been released , brining an improved Graphical User Interface and
amazing features, like the ability to open more media formats,
professional HD and 10-bits codes.
This guide is for those of you who want to install the VLC Media Player 2.0 on their Ubuntu 11.10 system.
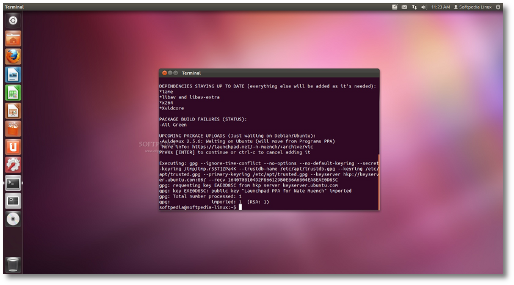
Step 1 - Add the VLC 2.0 repositories
Hit the CTRL+ALT+T key at a time on your keyboard and paste the following command in the terminal window:
sudo add-apt-repository ppa:n-muench/vlc
Enter your password when asked and press the Enter key..
Paste the belowcommand in the terminal window:-
sudo apt-get update
Close the terminal window when the operation is complete !! Proceed to the next step.
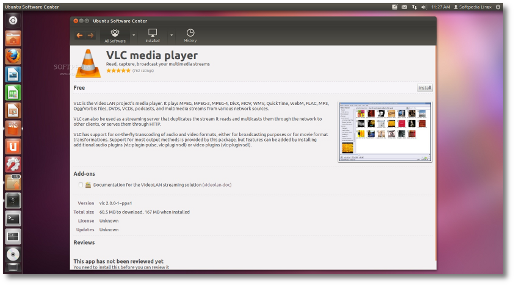
Step 2 - Install VLC 2.0
All you need to do is to click the link below in order to install VLC 2.0 on your computer.
Click here to Install VLC 2.0
With-in a few seconds and the Ubuntu Software Center app will show up. Click the "Install" button on the right.
Enter your password when asked.
Wait for the VLC 2.0 media player to be downloaded and installed on your machine. You can add VLC 2.0 shortcut icon on the Unity Launcher by clicking the "Add to Launcher" button situated on the lower right side. When the installation is over close the Ubuntu Software Center app.
VLC 2.0 is now installed on your Ubuntu 11.10 system. You can find it on your Unity Launcher or by typing VLC in the Unity Dash.
This guide is for those of you who want to install the VLC Media Player 2.0 on their Ubuntu 11.10 system.
Step 1 - Add the VLC 2.0 repositories
Hit the CTRL+ALT+T key at a time on your keyboard and paste the following command in the terminal window:
sudo add-apt-repository ppa:n-muench/vlc
Enter your password when asked and press the Enter key..
 |
Paste the belowcommand in the terminal window:-
sudo apt-get update
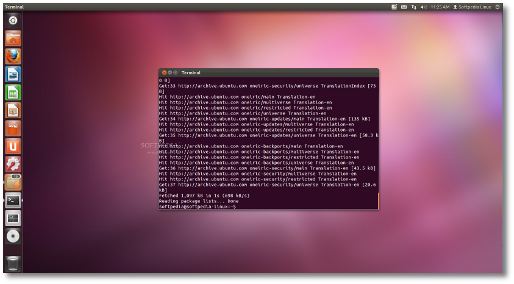 |
Close the terminal window when the operation is complete !! Proceed to the next step.
Step 2 - Install VLC 2.0
All you need to do is to click the link below in order to install VLC 2.0 on your computer.
With-in a few seconds and the Ubuntu Software Center app will show up. Click the "Install" button on the right.
 |
Enter your password when asked.
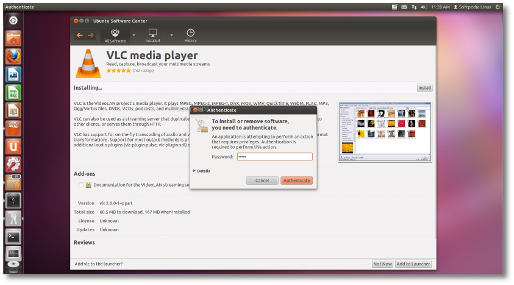 |
Wait for the VLC 2.0 media player to be downloaded and installed on your machine. You can add VLC 2.0 shortcut icon on the Unity Launcher by clicking the "Add to Launcher" button situated on the lower right side. When the installation is over close the Ubuntu Software Center app.
VLC 2.0 is now installed on your Ubuntu 11.10 system. You can find it on your Unity Launcher or by typing VLC in the Unity Dash.
 |


0 comments:
Post a Comment